How to set up smart lighting systems for a fully automated home
Smart lighting systems can enhance the functionality and atmosphere of your home while also increasing energy efficiency. By setting up smart lighting systems, you can control the lights in your home remotely, create schedules, and even customize the color and brightness of your lights. Here are some steps to help you set up smart lighting in your home for a fully automated experience.
Step 1: Choose a smart lighting system
There are many brands and types of smart lighting systems available on the market. Some popular options include Philips Hue, Lutron Caseta, and TP-Link Kasa. Research different systems to find one that best fits your needs and budget.
Step 2: Install the smart bulbs or switches
Depending on the type of smart lighting system you choose, you may need to replace your existing light bulbs with smart bulbs or install smart switches. Follow the manufacturer's instructions to properly install the devices.
Step 3: Connect the lights to your home network
Most smart lighting systems require a Wi-Fi or Bluetooth connection to function. Follow the instructions provided by the manufacturer to connect the lights to your home network.
Step 4: Set up the smart lighting app
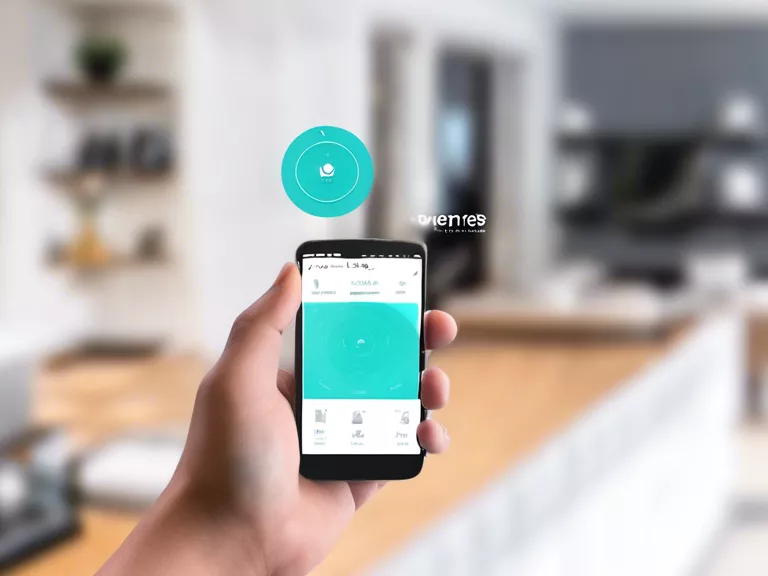
Download the corresponding app for your smart lighting system on your smartphone or tablet. Follow the app instructions to pair the devices and set up your preferred settings such as color, dimness, and schedules.
Step 5: Customize and automate
Experiment with different settings and features offered by your smart lighting system. Create custom lighting scenes, set up schedules for when lights should turn on and off, and even sync the lights with other smart home devices for a fully automated experience.
By following these steps, you can easily set up a smart lighting system in your home and enjoy the convenience and benefits of automated lighting.


